Five years ago I bought my first home, and I started thinking about what I wanted to do with each room. I started watching a lot of home improvement shows on TV looking for design ideas and I learned a few things. I painted my living room first, including an accent wall which was a new concept for me. That project was small time though. After a lot of thinking, planning, and more thinking and planning it was finally time to step up my game. My condo has a half bath on the first floor, and it was time to remodel.
I started looking at different design ideas for inspiration. I had an idea of what I wanted , but I’m very indecisive. It took me a few months to settle on what I wanted. Once I figured it out I ordered the materials and took some vacation time. Before we get started with changes, lets take a look at where we started.

At some point I just stopped cleaning, so it looks a little worse than it should have. The diamond floor is my least favorite part. It was falling apart and needed to GO.

The sink and cabinet from 1986, when they were installed I was five years old. I couldn’t wait to tear them out.
First I have to come clean. I am the least handy person on the planet. I can handle the little things like a hammer and a screwdriver, but if you want something measured and cut to fit into a space I am not your man. The good news is, I have the BEST parents in the world. My Dad knows more about home improvement than I will ever be able to master. He can do electrical, plumbing, and woodworking like a seasoned pro. My Mom has the one talent that nobody else has, she can keep me on task and working. They offered to help me with the remodel.
Most of the work in the bathroom was done by my Dad while my Mom and I did the painting and generally trying to stay out of my Dad’s way. We worked on other projects around the condo, including painting my office and giving my couch new life by filling the cushions with new stuffing.
So with that taken care of here’s what we did.
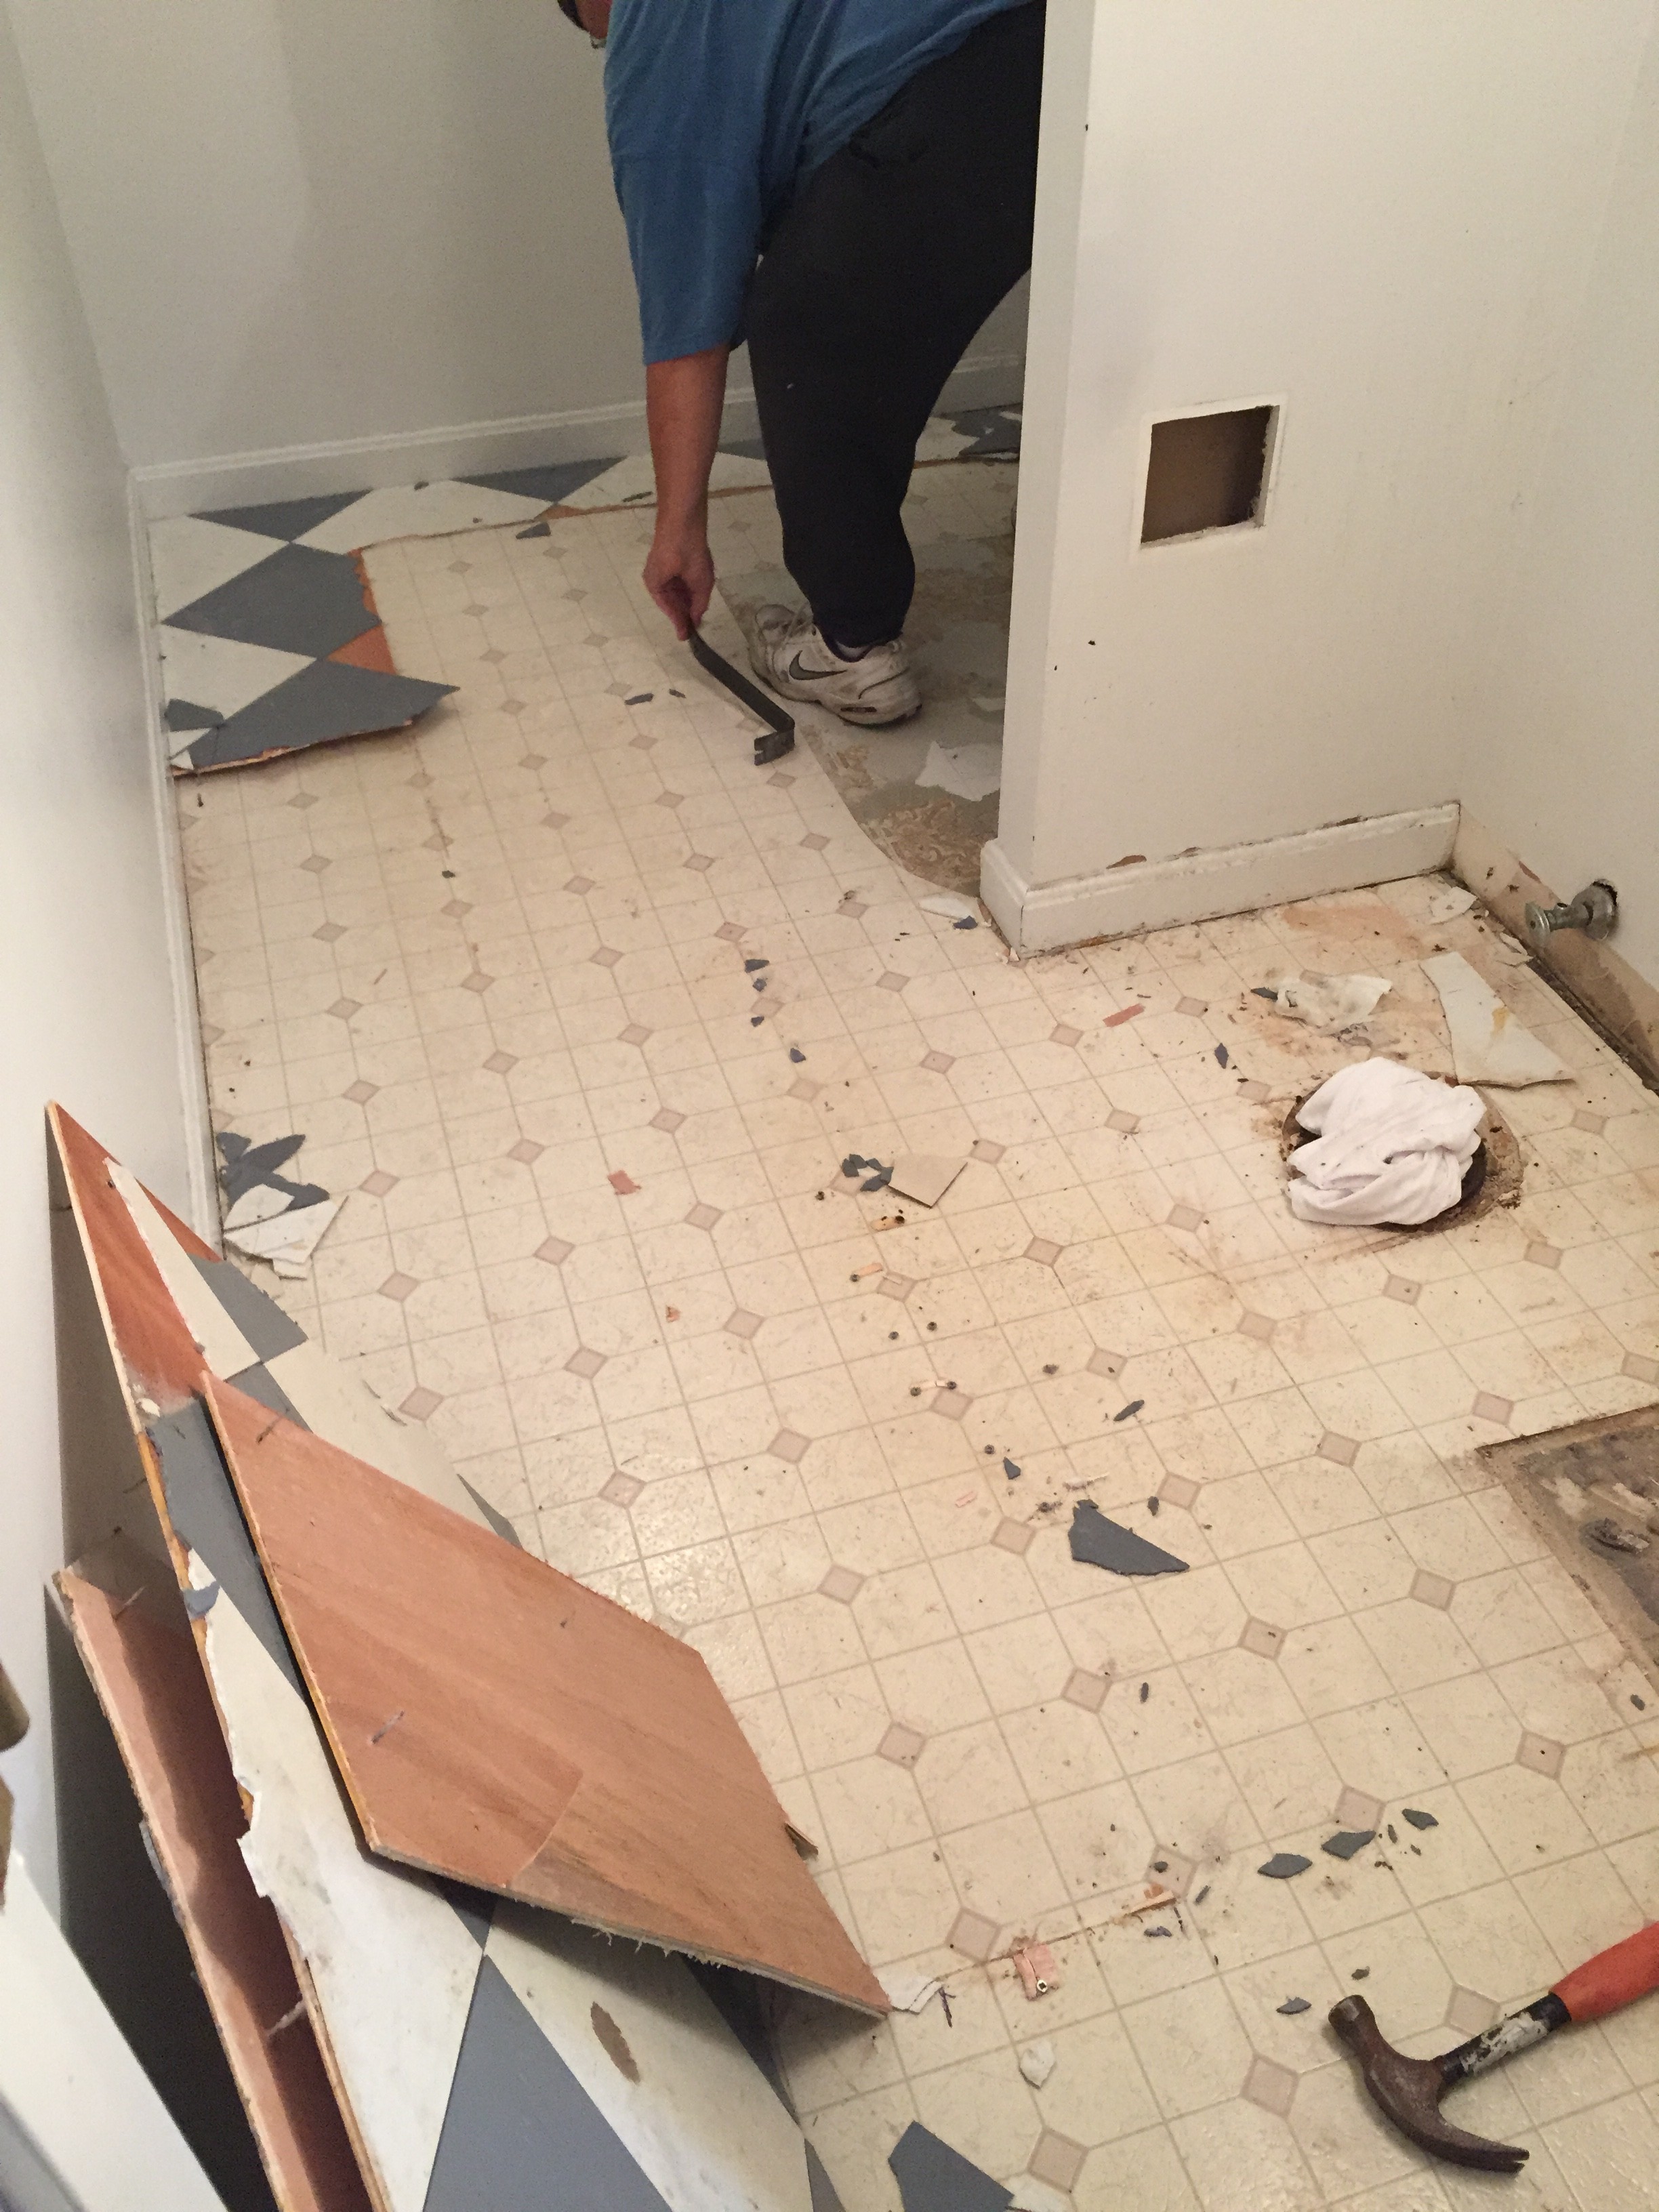
Day One: Demo Day
Under the horrible floor was a layer of plywood and ANOTHER floor! If you look carefully at the molding in the top left corner of the photo, you’ll see it’s shorter than the rest of it. If you guessed that they laid the plywood and tile on top of the first one you get a prize. We removed both floors and the molding before putting down new stuff.
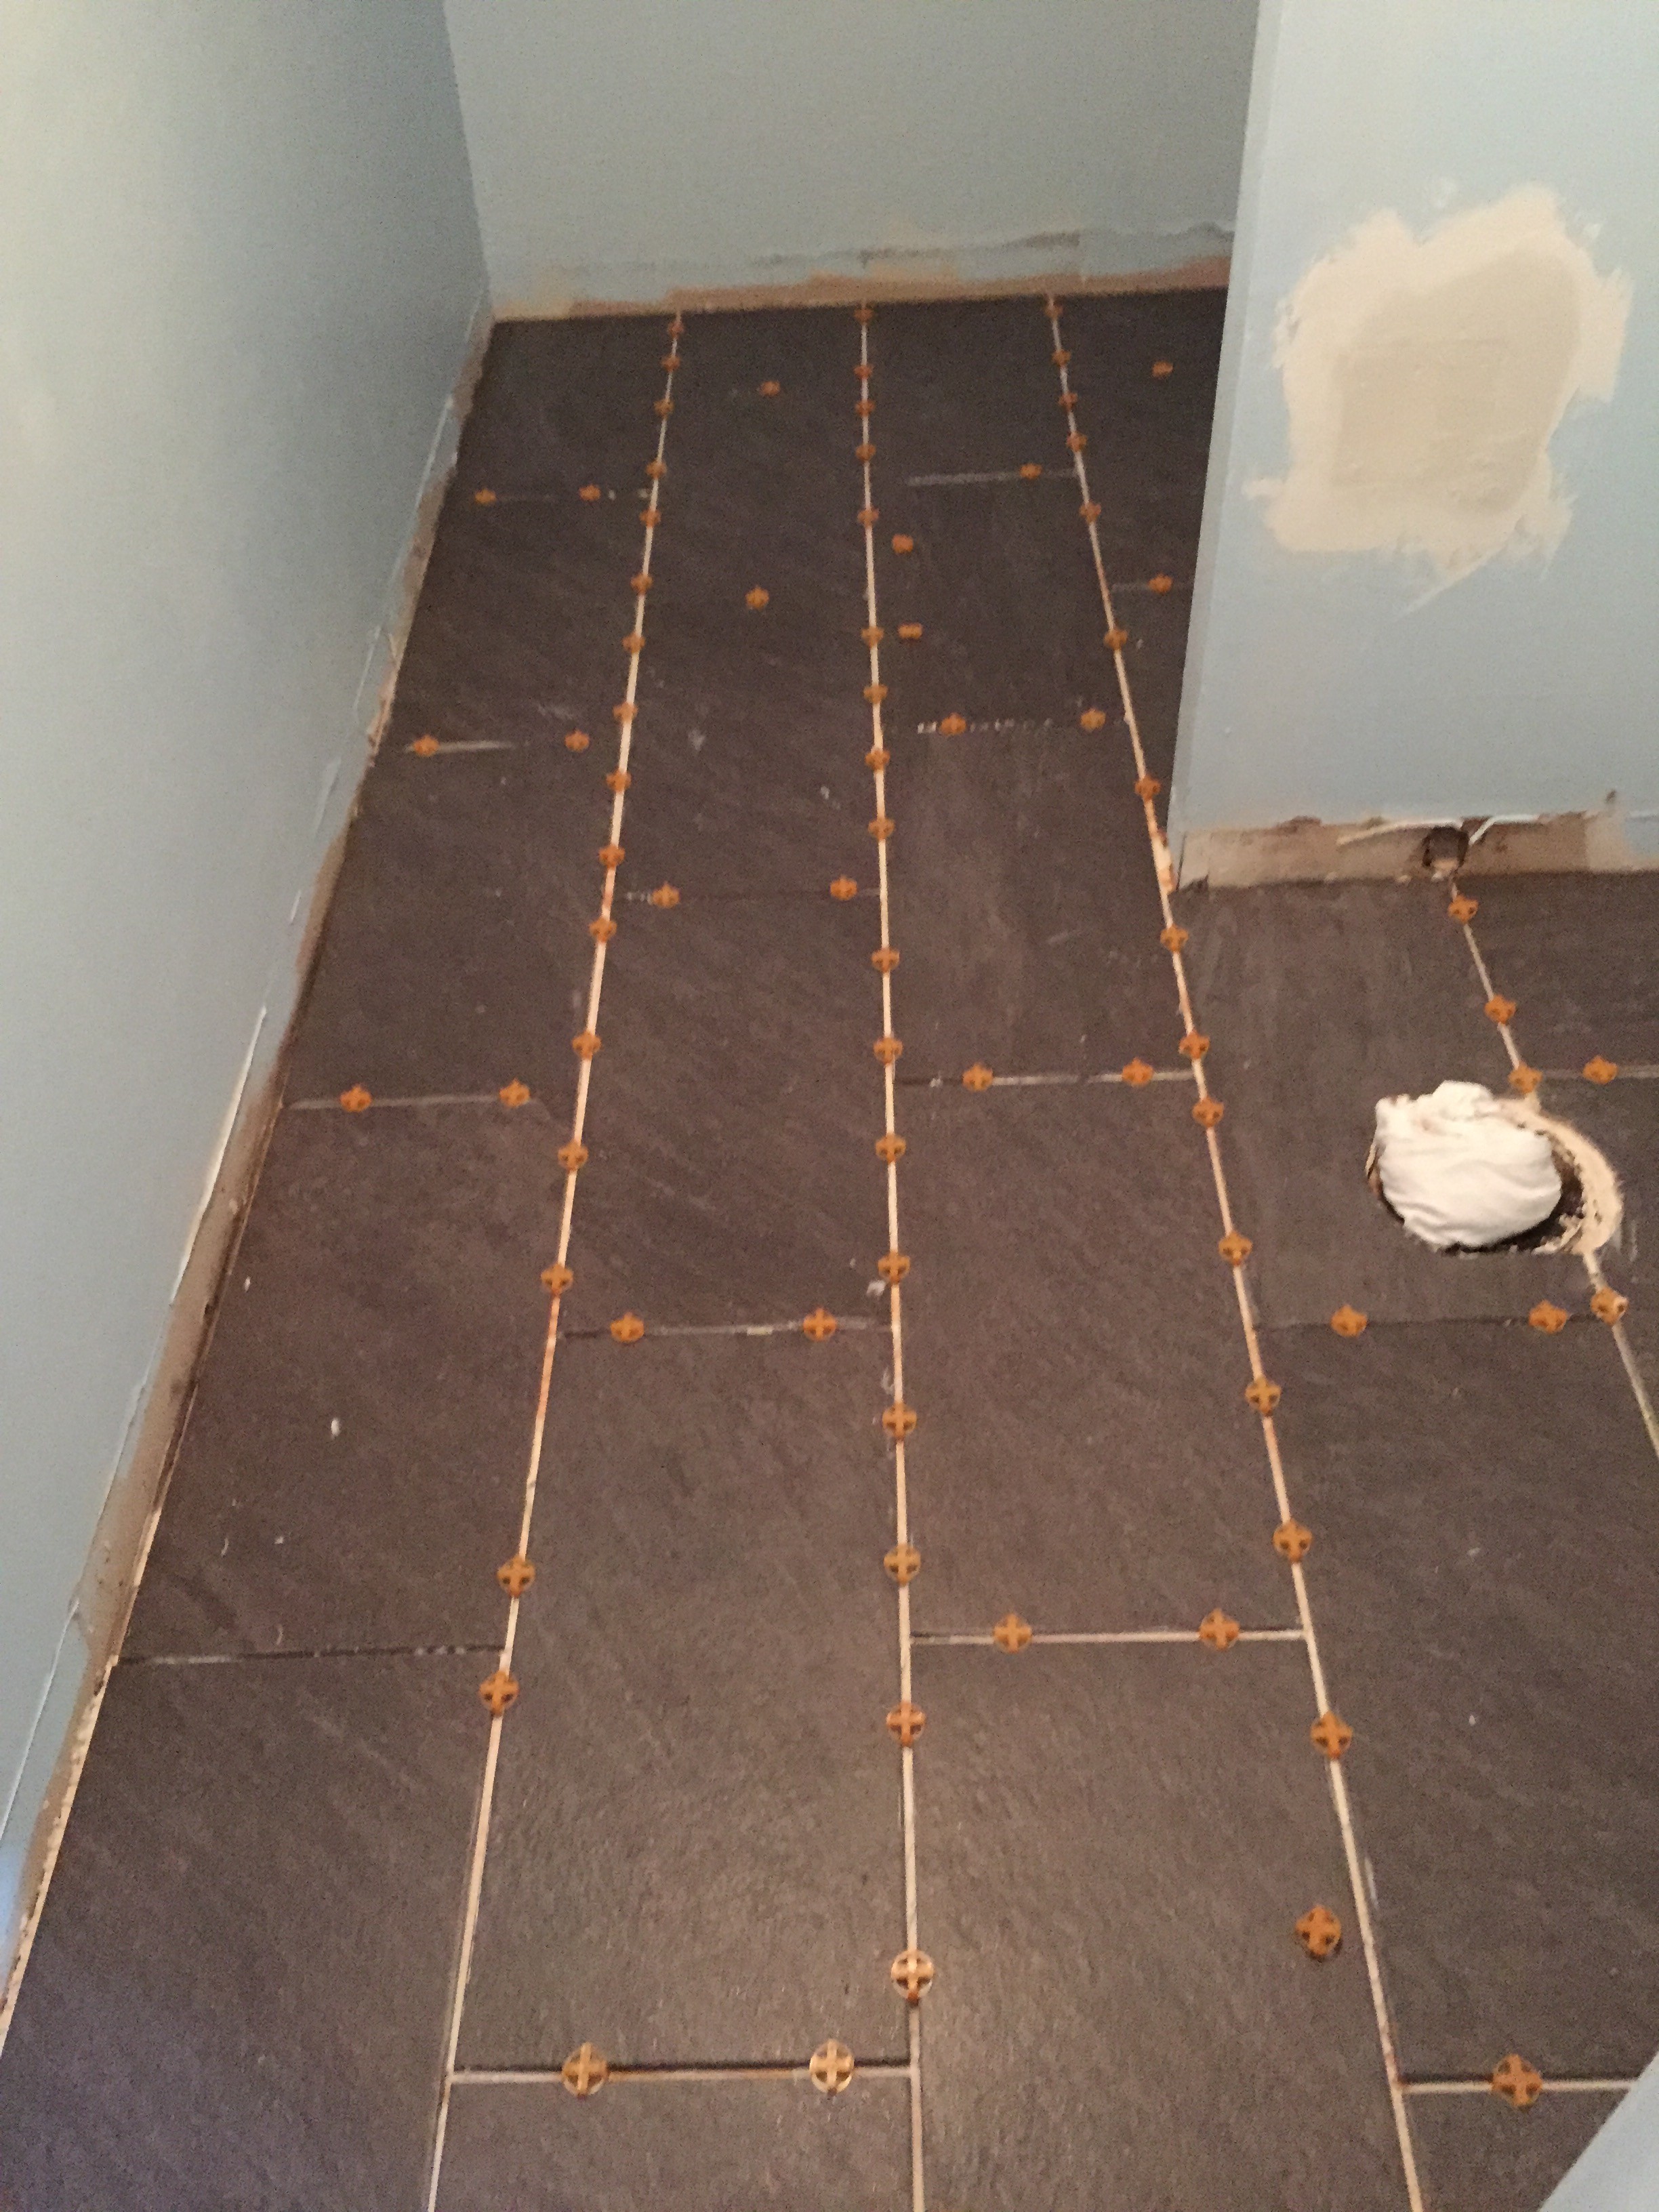
Day Two: Tile
We painted the walls before my Dad put down the tile. I was a little worried I didn’t order enough tile, but my Dad is awesome and got the floor done with two or three left over. As soon as I saw these tiles in the store I was in love with them.
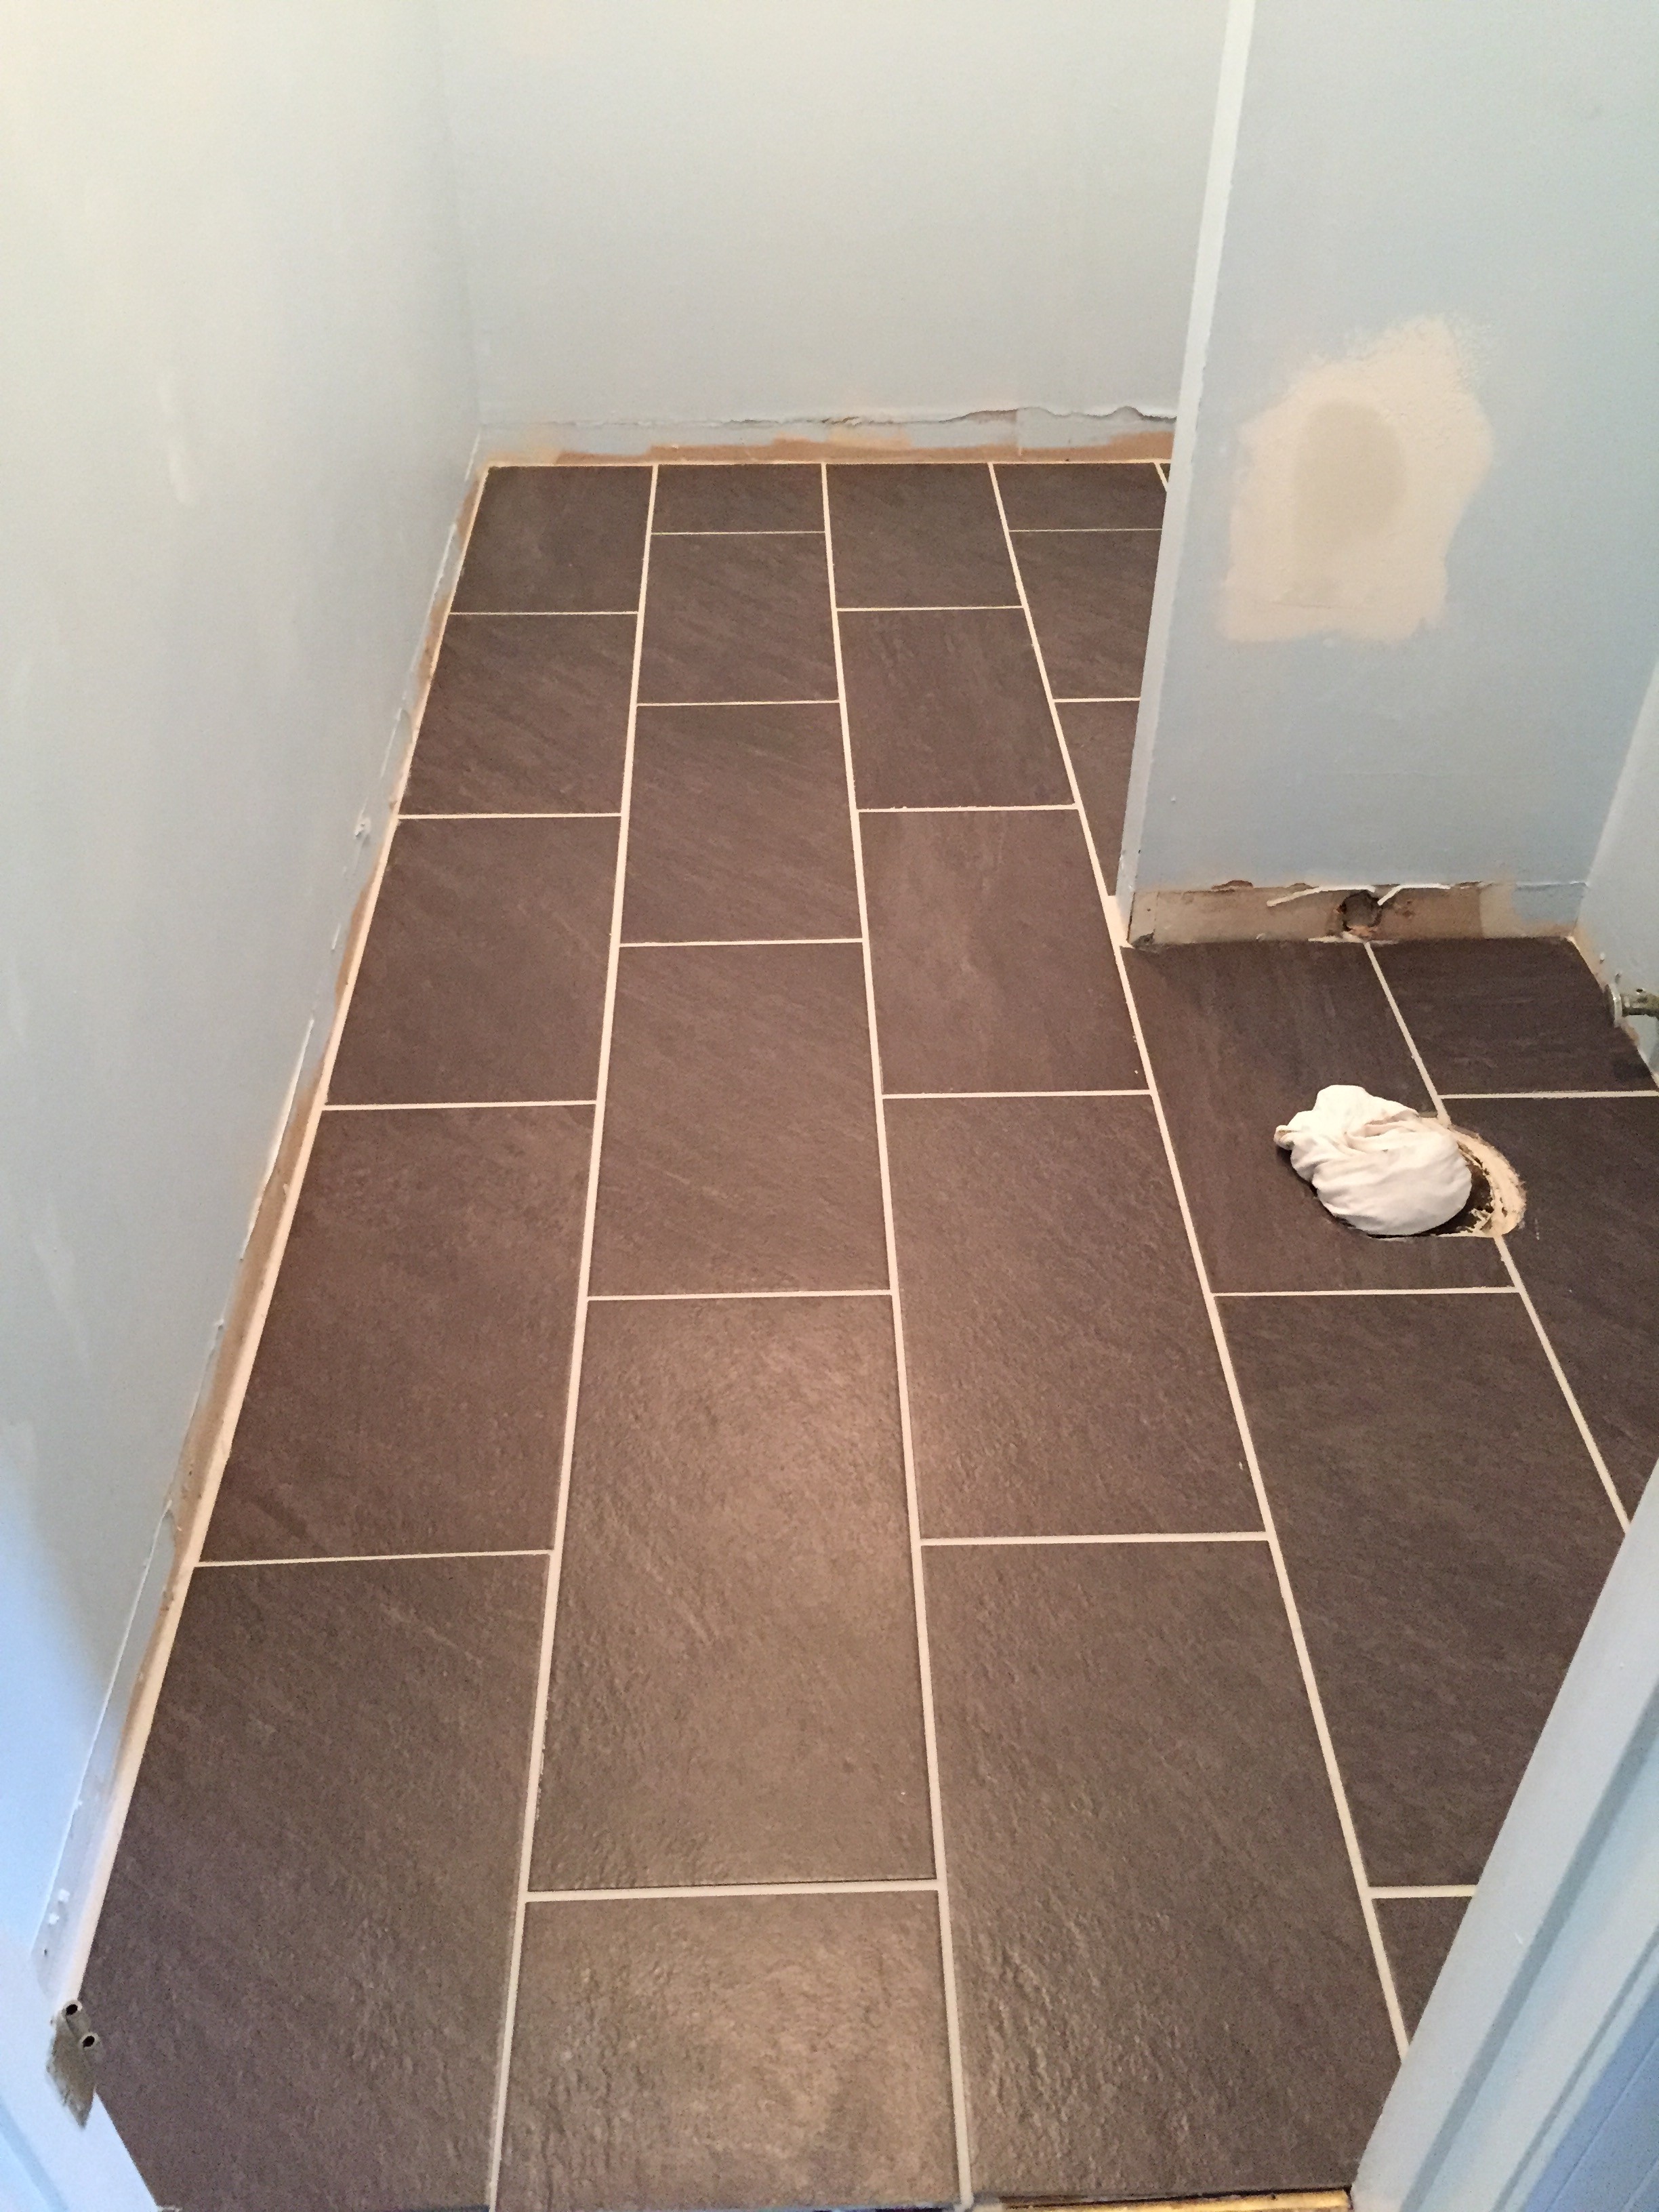
Day Three: Grout
Not much else to say about this picture except DAMN that tile looks good.
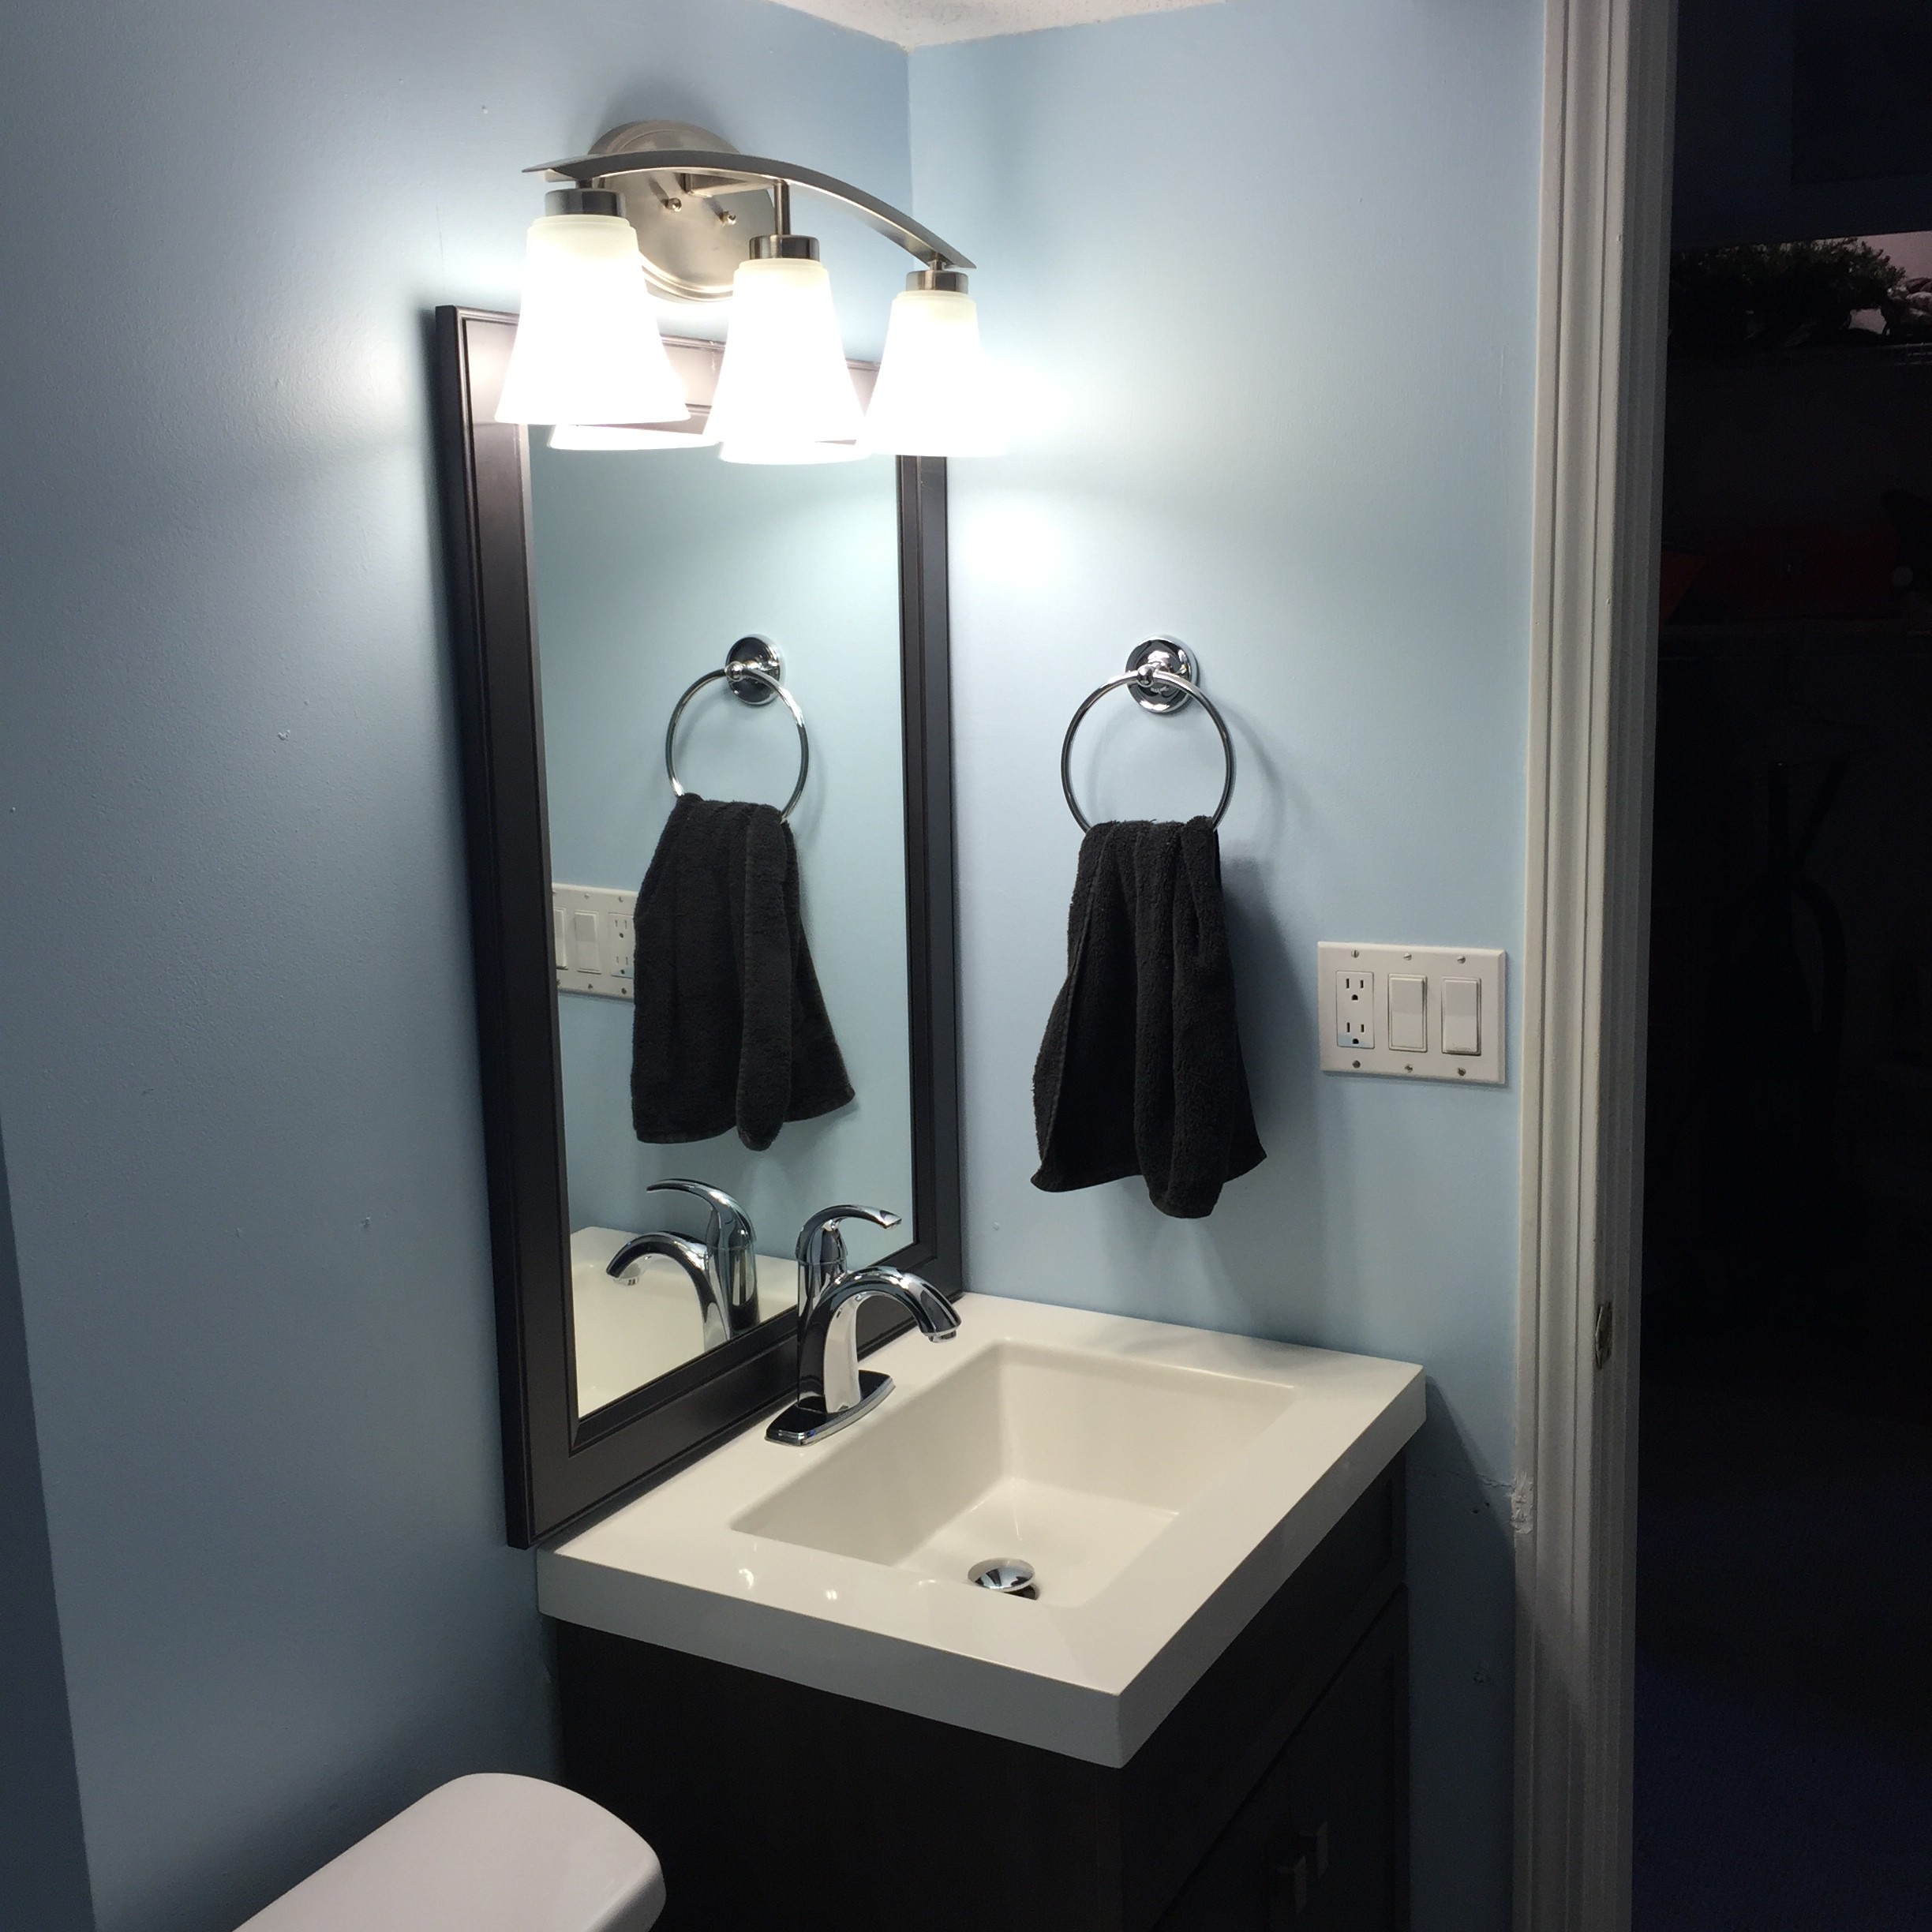
Day Four: Finishing Touches
This was it. After several days of waking up early and working hard every day on multiple projects today was the day. So without further ado, here’s the finished product.
My Mom and Dad worked very hard and I can’t thank them enough for their help. I love the new updated look, but I still need to get some art for the walls. So far I’ve only found this:

I think this will fit in nicely
My next project is going to be my kitchen. I’ll spare my parents the hard work and just hire professionals when I take that job on.


